
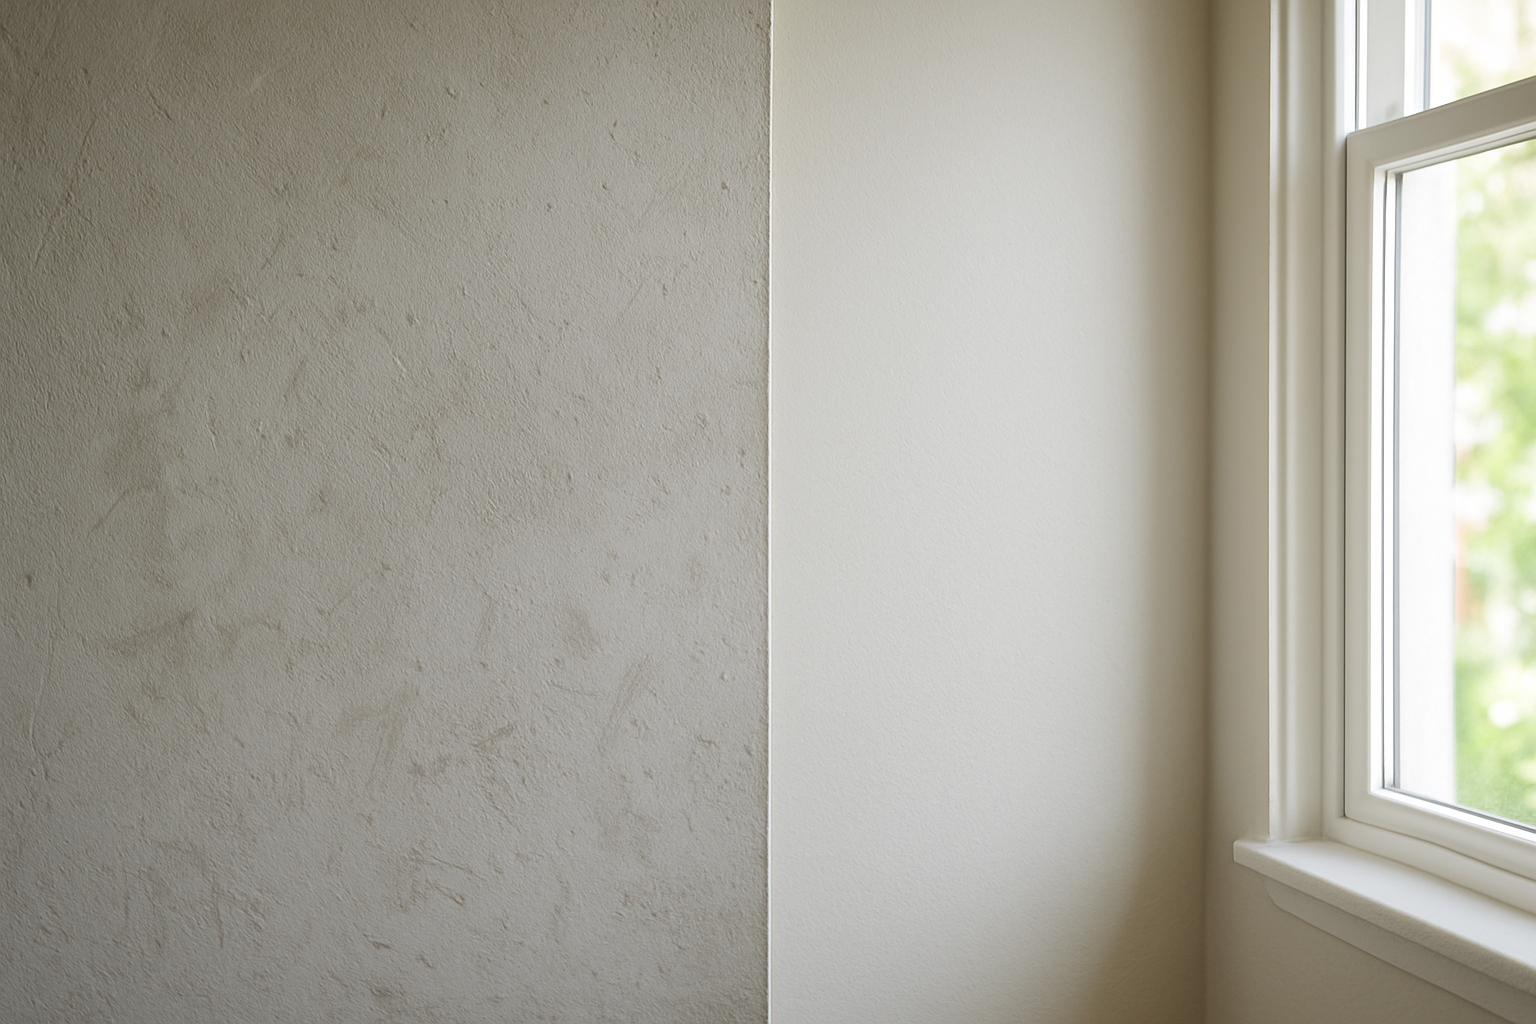
Knowing how to prep walls for painting is essential for a professional-looking finish that lasts. Proper wall preparation ensures paint adheres well, resists peeling, and looks clean for years. Skip the prep, and even premium paint will peel, crack, or look uneven within months.
Table of Contents
- Why Wall Prep Makes or Breaks a Paint Job
- Gathering Tools and Materials for Wall Prep
- How to Clean Walls Thoroughly Before Painting
- Repairing Damage Before You Prime
- How to Sand Walls for a Smooth, Paintable Surface
- Priming: When You Need It and When You Can Skip It
- How to Protect the Room Before Painting
- Common Mistakes When Prepping Walls for Painting
Why Wall Prep Makes or Breaks a Paint Job
Most people focus on color selection and brush technique. However, the hours spent preparing walls before paint touches them determine whether results look professional or DIY-rough. Professional painters understand this principle well.
According to Workyard’s industry analysis, as of 2023 there were 242,261 people employed in the house painting and decorating contractor industry in the United States. A significant portion of what separates professional crews from weekend DIY attempts comes down to preparation habits. Therefore, proper prep is where quality begins.
The painting industry itself reflects how seriously Americans take interior finishes. The U.S. house painting market was valued at $24.4 billion in 2024, per The Business Research Company. Projected growth continues through 2026. That level of demand puts real pressure on results, and proper wall prep is what keeps professional crews competitive.
Gathering Tools and Materials for Wall Prep
Before you touch the walls, pull together everything you need. Moreover, stopping mid-prep to run to the hardware store breaks momentum and leads to skipped steps.
Here is a basic toolkit for wall prep:
- TSP (trisodium phosphate) or a TSP substitute for cleaning
- Sponges, buckets, and drop cloths
- Putty knife and spackling compound or joint compound
- 120-grit and 150-grit sandpaper (or a sanding block)
- Primer (latex or oil-based, depending on surface condition)
- Painter’s tape (1.5-inch or 2-inch width)
- A good shop vacuum or tack cloth for dust removal
Having the right tools upfront saves time. Additionally, using the wrong grit sandpaper can leave scratches that show through the final coat. This is especially noticeable with best white paint colors for walls in satin or semi-gloss finishes.
How to Clean Walls Thoroughly Before Painting
Dirt, grease, and residue prevent paint adhesion. Paint does not bond well to contaminated surfaces. Moreover, glossy or oily spots cause the finish coat to separate or bubble over time.
Kitchens and bathrooms require extra attention because airborne cooking grease and soap scum accumulate on walls over years. Even seemingly clean walls have invisible buildup. A mixture of TSP substitute and warm water is the standard professional solution. Wipe the walls down from top to bottom, rinse with clean water, and let them dry completely—typically 24 hours minimum in normal conditions.
Living rooms and bedrooms accumulate dust and body oils near switch plates, door frames, and high-traffic corners. An all-purpose cleaner works fine for these areas. However, do not skip this step just because walls appear clean.
Furthermore, if you’re dealing with mold or mildew spots (common in older Connecticut homes near the coastline), treat them with a diluted bleach solution first. Let the area dry fully. Then assess whether the underlying drywall needs replacement or just a stain-blocking primer.
Repairing Damage Before You Prime
No amount of quality paint hides physical wall damage. Cracks, holes, nail pops, and gouges need repair before primer goes on.
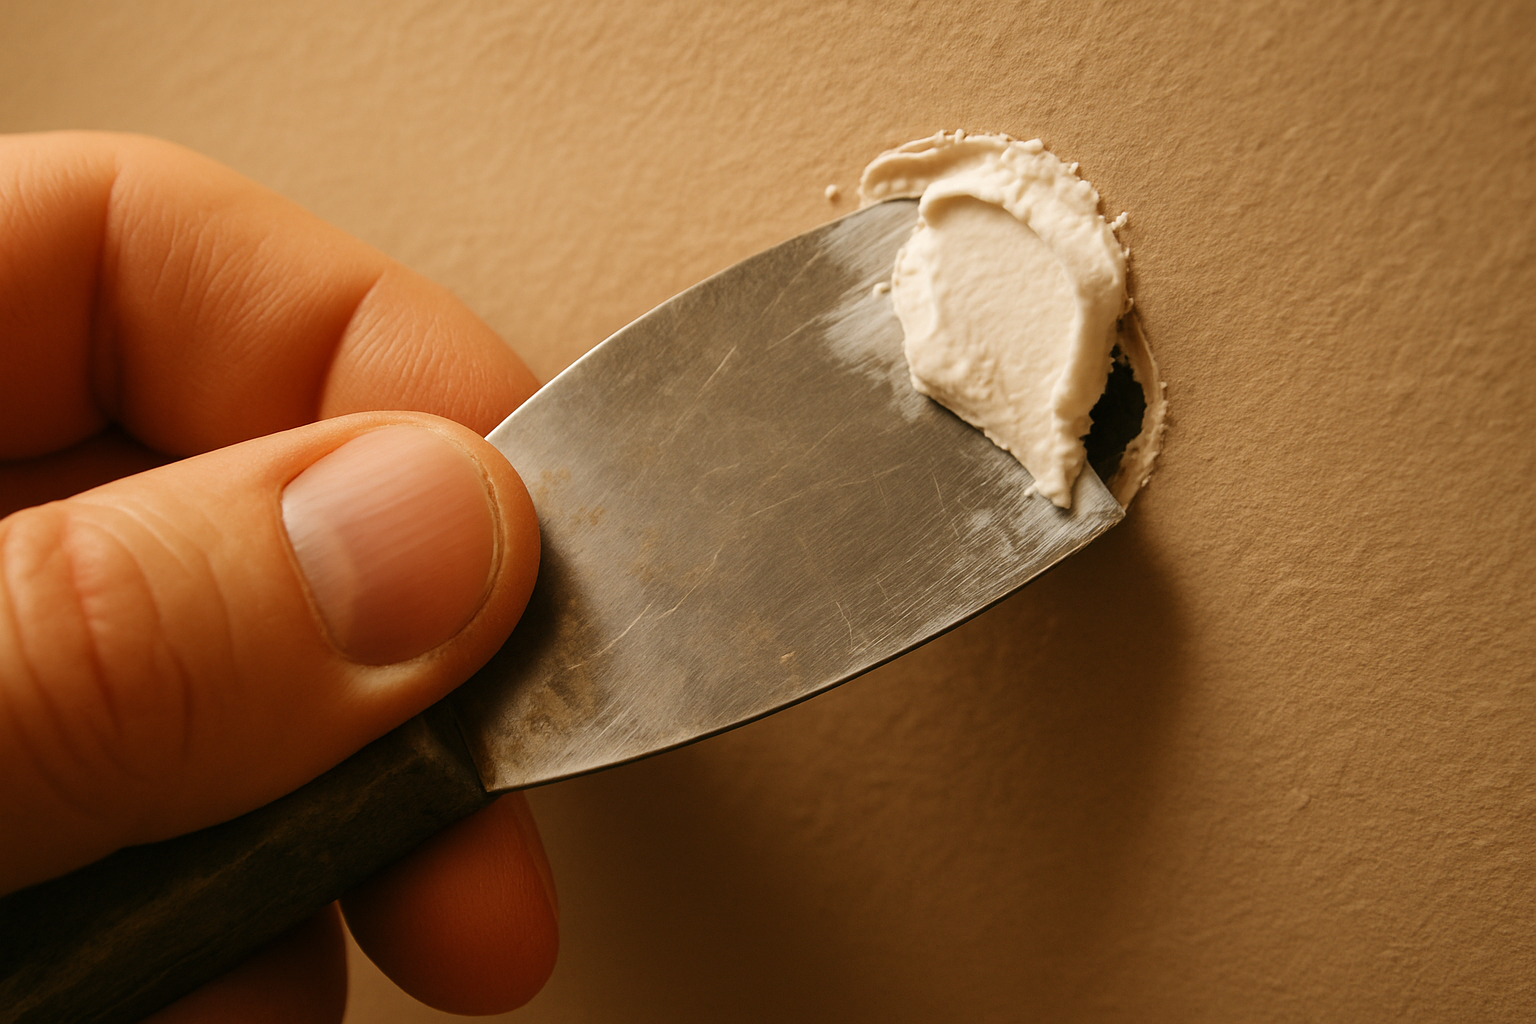
For small nail holes: A lightweight spackling compound pressed in with a putty knife is usually sufficient. Let it dry, sand it flush, and move forward.
For larger holes (1 to 4 inches): A mesh patch kit combined with joint compound provides a stable repair. Apply the compound in thin layers, letting each coat dry fully. Rushing this step is where most DIYers fail.
For drywall cracks: Hairline cracks often indicate normal settling. Widen the crack slightly with a putty knife. Fill it with joint compound. Embed paper tape over the length of the crack. Skim coat over the top. This prevents the repair from cracking again.
Textured walls add complexity. If you need to match popcorn or orange peel texture, spray cans are available at most hardware stores. For ceiling texture work, our resource on how to remove popcorn ceiling covers that process in detail.
Once all repairs are done, let everything cure completely before moving to sanding.
How to Sand Walls for a Smooth, Paintable Surface
Sanding serves two purposes. First, it smooths repaired areas so they blend with surrounding walls. Second, it scuffs glossy surfaces so new paint has something to grip.
After repairs: Use 120-grit sandpaper to knock down ridges or high spots in spackling or joint compound. Follow with 150-grit to blend the edges seamlessly into the wall.
On previously painted walls with a sheen: If you’re painting over a semi-gloss or gloss finish, lightly scuff the entire surface with 150-grit sandpaper or a liquid deglosser. This step is non-negotiable for adhesion. Skipping it causes freshly painted walls to peel prematurely.
After sanding: Vacuum the dust off walls with a brush attachment. Then wipe everything with a dry tack cloth. Sanding dust floats back onto surfaces if you don’t remove it properly. It will absolutely affect the finish.
Priming: When You Need It and When You Can Skip It
Primer is not always mandatory. However, knowing when to use it separates good results from great ones.
| Situation | Primer Needed? | Type to Use |
|---|---|---|
| Fresh drywall or bare wood | Yes | Drywall primer or PVA primer |
| Heavy stains (water, smoke, marker) | Yes | Oil-based or shellac stain blocker |
| Drastic color change (dark to light) | Yes | Tinted primer matched to finish coat |
| Previously painted wall, same sheen | Usually not | Self-priming paint often sufficient |
| Glossy surface (already scuffed) | Recommended | Bonding primer |
| Repaired spots with joint compound | Yes | Spot prime at minimum |
At Fairfield Painting Contractors, our crew in Fairfield, CT and along the coastline always spot-primes repairs before full-coating walls. This prevents flashing, where repaired areas absorb paint differently and show dull patches under certain lighting.
One important note: new construction or wallpaper removal typically demands a full primer coat across every surface. Freshly skimmed or exposed drywall paper is highly absorbent. It pulls moisture from the finish coat too quickly if left unprimed. As a result, finish sheen becomes uneven.
How to Protect the Room Before Painting
Once walls are clean, repaired, sanded, and primed, the final prep step is protecting everything you don’t want painted.
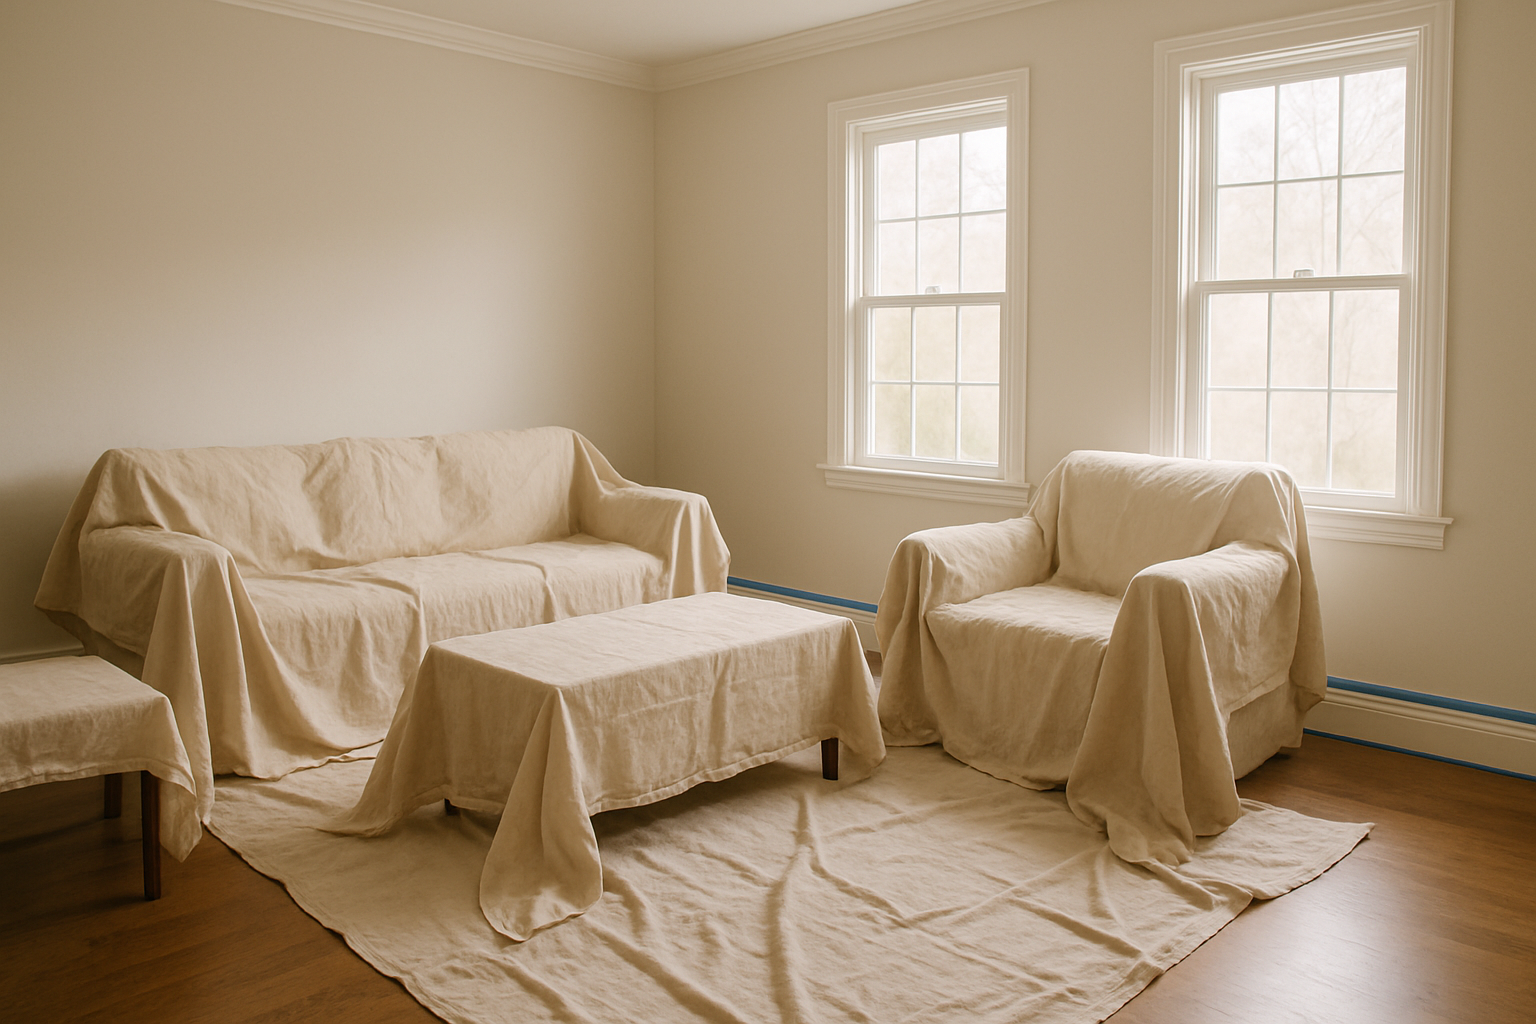
Painter’s tape: Apply it along ceiling lines, baseboards, window trim, and door casings. Press the edge firmly with a putty knife or fingernail to prevent bleed-through. Remove the tape while paint is still slightly wet for the cleanest line.
Drop cloths: Canvas drop cloths outperform plastic sheeting. They stay in place, absorb drips rather than spreading them, and don’t bunch up underfoot. Cover all furniture and lay cloths across the entire floor area you’ll work in.
Switch plates and outlet covers: Remove them entirely rather than taping around them. This takes two minutes and gives cleaner results around electrical boxes.
If you’re deciding on color direction, this is the right moment to finalize your choice. Our article on accent wall colors living room walks through selecting colors that work with existing room elements. Additionally, our breakdown of peel and stick wallpaper ideas explores finishing alternatives before you commit.
Common Mistakes When Prepping Walls for Painting
Motivated DIYers often fall into predictable traps when learning how to prep walls for painting. Here are the most common ones we see:
Skipping the cleaning step. This is the most common mistake. Walls that look clean often aren’t, especially in kitchens, near air vents, or in homes with pets.
Rushing repairs. Joint compound and spackling need time to cure before sanding. Sanding too early pulls the material out of the hole rather than smoothing it.
Using the wrong primer. A latex primer over a water stain will not block it. You need an oil-based or shellac-based stain blocker for water damage, smoke, or marker marks.
Not sanding glossy surfaces. Paint needs mechanical grip to adhere. Applying paint directly to glossy or semi-gloss surfaces without sanding is a recipe for peeling within a year.
Forgetting to remove tape correctly. Waiting until paint fully dries, then ripping tape often pulls finish paint off the wall. Pull tape back at a 45-degree angle while paint is still slightly tacky.
Ignoring what’s behind the wall surface. If you’ve recently removed wallpaper, the wall beneath may have adhesive residue, torn paper facing, or gouges needing full repair before paint goes on.
Book a Professional Wall Prep and Paint Estimate
This process often feels overwhelming to handle alone. Proper wall preparation takes time, the right materials, and a practiced eye for details. These details aren’t always obvious until paint goes on, and then it’s too late to fix easily.
The team at Fairfield Painting Contractors handles every stage of interior painting. We manage surface prep through the final coat using a full-time year-round crew based right here in Fairfield, CT. We don’t subcontract, which means consistent quality on every project.
Request your free estimate today and get a clear picture of what your project involves before committing. Fill out the contact form on our website and we’ll schedule a walkthrough at your convenience.
Frequently Asked Questions
Q: How long does wall prep take before painting?
Wall prep typically takes one to two full days for an average-sized room, not counting drying time for repairs and primer. Larger rooms or walls with significant damage extend that timeline. Furthermore, rushing drying times is one of the most common reasons paint jobs fail prematurely. It’s worth building in extra time before you start coating.
Q: Do I need to wash walls before painting if they look clean?
Yes. Even walls that appear clean often have invisible grease, dust, or residue preventing proper paint adhesion. Kitchens are particularly susceptible to airborne grease buildup. A quick wipe-down with a TSP substitute solution takes less than an hour. Moreover, it meaningfully improves how well paint bonds and how long it lasts.
Q: Can I paint over old paint without sanding?
You can in some cases. However, this only works if the existing paint is flat or eggshell, in good condition, and free of gloss. If the surface has any sheen, or if old paint is chipping, bubbling, or peeling in spots, sanding is necessary. Skipping sanding on a glossy surface is one of the leading causes of premature peeling.
Q: What’s the best primer for walls with water stains?
An oil-based primer or a shellac-based stain blocker is best for blocking water stains, smoke damage, or marker marks. Latex primers do not have sufficient sealing power. These materials prevent stains from bleeding through the finish coat, even with multiple paint layers applied on top.
Things to Know
- Wall prep accounts for the majority of labor time in a professional paint job. The actual painting often takes less time than the cleaning, patching, sanding, and priming that precedes it.
- Joint compound shrinks slightly as it dries. This means you almost always need a second thin coat over larger repairs. Applying one thick coat and sanding rarely gives a flush, seamless result.
- Humidity and temperature affect drying times significantly. In coastal environments like Fairfield, CT, high humidity extends drying times for both spackling compound and primer. Times can stretch several hours beyond what labels suggest.
- Not all paints labeled “paint and primer in one” eliminate the need for a separate primer coat. On fresh drywall, heavily stained surfaces, or drastic color changes, a dedicated primer performs better. It gives more even finish.
- Painter’s tape should be removed while paint is still slightly tacky, not after it has fully dried. Waiting too long causes tape to bond to cured paint. It pulls the finish off the wall along with it.
- If you’re repainting a wall that previously had wallpaper on it, check carefully for leftover adhesive residue before priming. Even small adhesive traces cause paint to bubble or peel in patches after it dries.
Stop Guessing and Get Your Walls Done Right
Learning how to prep walls for painting is straightforward in theory. In practice, the details add up fast. One skipped step can cost you the entire finish coat. At Fairfield Painting Contractors, our licensed and insured crew handles every stage with consistent quality. We’ve done this work year-round in Fairfield, CT and surrounding coastline communities.
Request your free estimate and let us examine your space before you spend a weekend on prep that may need redoing. Fill out our contact form today and we’ll schedule a walkthrough at a time that works for you.
Additional Frequently Asked Questions
Q: How do I know if my walls need to be primed before painting?
Prime your walls if you’re working with fresh drywall, covering a stain, making a dramatic color change, or painting over a glossy surface. Spot-priming repaired areas is also recommended even when the rest of the wall doesn’t need a full coat. Without it, spackled or joint-compound patches absorb finish paint unevenly. This creates dull spots visible under certain lighting conditions. When in doubt, priming adds very little cost relative to the improvement in final appearance.
Q: What should I use to clean walls before painting?
A TSP substitute mixed with warm water is the most widely recommended solution for cleaning walls before painting. TSP substitute effectively cuts through grease, smoke residue, and general grime without leaving a film that interferes with paint adhesion. For lighter buildup in low-traffic rooms, a mild all-purpose cleaner works fine. Always rinse walls with clean water after washing and allow them to dry fully before applying primer or paint.
Q: How long should I wait after patching walls before I paint?
Wait until all patching compound is completely dry and hard to the touch before sanding, priming, or painting over it. Lightweight spackling compound can dry in as little as two hours under ideal conditions. However, thicker applications or high-humidity environments can require 24 hours or more. Joint compound used for larger repairs typically needs at least 24 hours per coat. Many professionals wait a full 48 hours before sanding. Painting over compound that hasn’t fully cured leads to cracking and adhesion failure.
Q: Can I skip sanding if I’m just doing a quick repaint?
You can skip sanding on flat or eggshell surfaces that are clean and in good condition. However, you should never skip it on glossy or semi-gloss surfaces. Paint needs a slightly rough surface to grip onto. If the existing finish has any sheen, sanding with 150-grit sandpaper or applying a liquid deglosser is necessary for proper adhesion. Even on flat surfaces, light sanding around repaired areas helps them blend invisibly into surrounding wall texture.
Q: Do I need to remove outlet covers and switch plates before painting?
Yes. Removing outlet covers and switch plates entirely gives you cleaner edges and prevents paint from building up on plastic covers. Taping around them is a common shortcut. However, it rarely produces a tight enough line. You often see visible gaps or paint bleed around the edges of covers. Removing them takes only a few minutes with a flathead screwdriver. It gives you unobstructed access to the wall surface. Just turn off the circuit breaker for any outlets you’ll work directly next to as a basic safety precaution.