- Free Estimates

Ceilings are often the most neglected surfaces during a home makeover, yet they play a pivotal role in the overall ambiance of a room. A crisp, well-painted ceiling not only reflects more light but also enhances cleanliness and visual balance.
These ceiling painting tips provide a professional-level approach to refreshing this overhead canvas while exploring trending ceiling paint styles and creative ceiling paint patterns.
✔ Choose flat, high-hide, ceiling-specific paint to reduce glare and effectively hide imperfections.
✔ Clean, repair, sand, and prime the ceiling thoroughly to ensure smooth adhesion and a long-lasting finish.
✔ Use an extension pole, angled brush, and splatter-resistant roller with painter’s tape for a clean and efficient painting process.
✔ Always cut in around ceiling edges before rolling to define clean borders and support pattern accuracy.
✔ Roll in one consistent direction with steady pressure and a wet edge to prevent streaks and maintain even coverage.
✔ Apply a second coat if the first shows patchiness or uneven color to enhance durability, depth, and pattern clarity.
Choosing the proper paint is one of the most important ceiling painting tips. The ceiling reflects light differently and often hides more imperfections than walls, so specialized paint makes a significant difference in the final result.
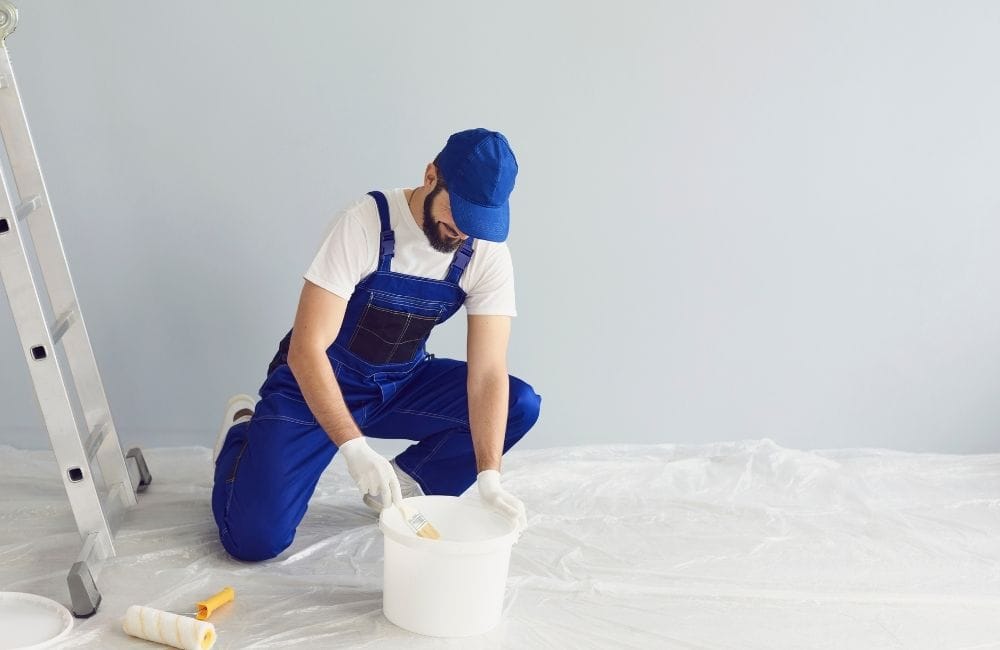
Even the best ceiling painting tips won’t yield quality results without proper prep. Clean, smooth surfaces ensure the paint adheres evenly and looks professional. Skipping proper preparation, like cleaning the ceiling thoroughly before painting, can lead to subpar results. Similarly, pre-treatment processes such as phosphating, degreasing, derusting, and passivation of the material before painting can significantly affect the quality of the final product.
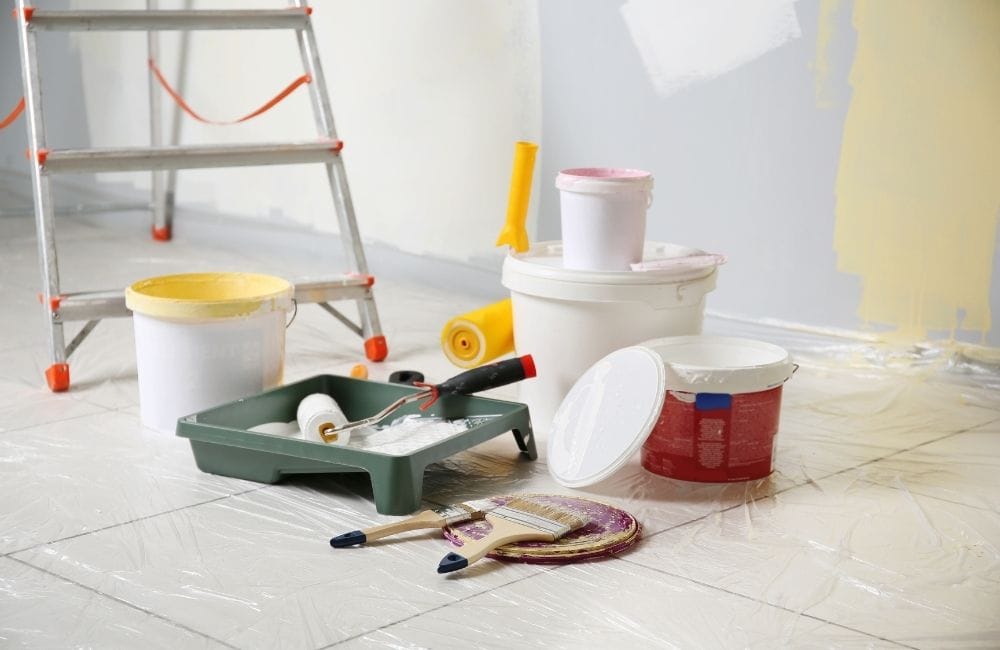
The right tools make all the difference in comfort, speed, and finish quality. These ceiling painting tips focus on gear that helps you paint efficiently and with fewer mistakes.
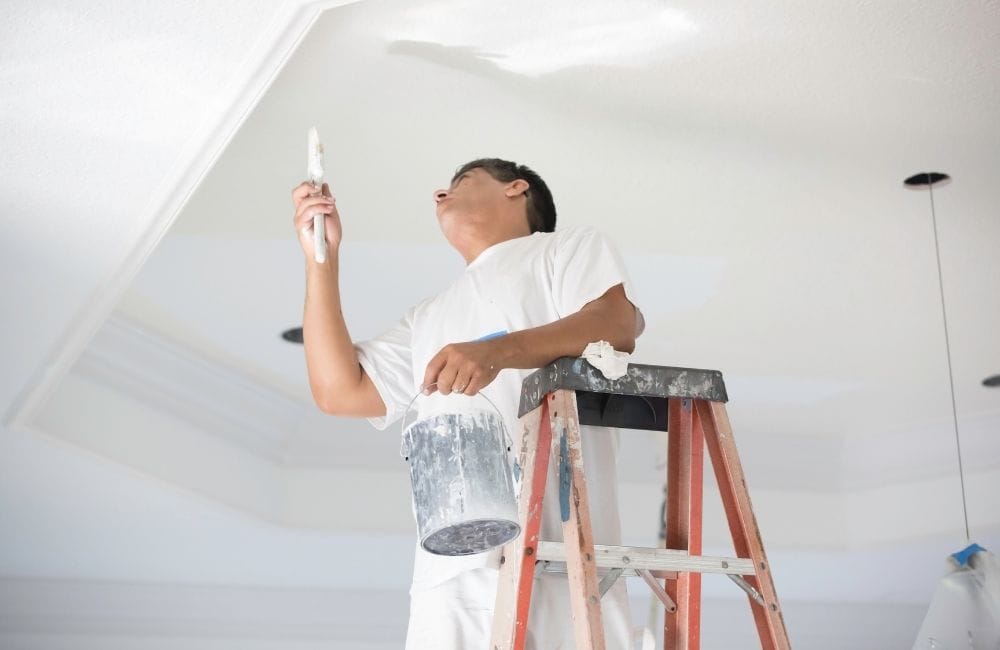
Among the most important ceiling painting tips, cutting in helps create a clean perimeter and sets up the roller for even coverage. Cutting in takes time, but it drastically improves the final result, especially in rooms with distinct color separation or design elements.
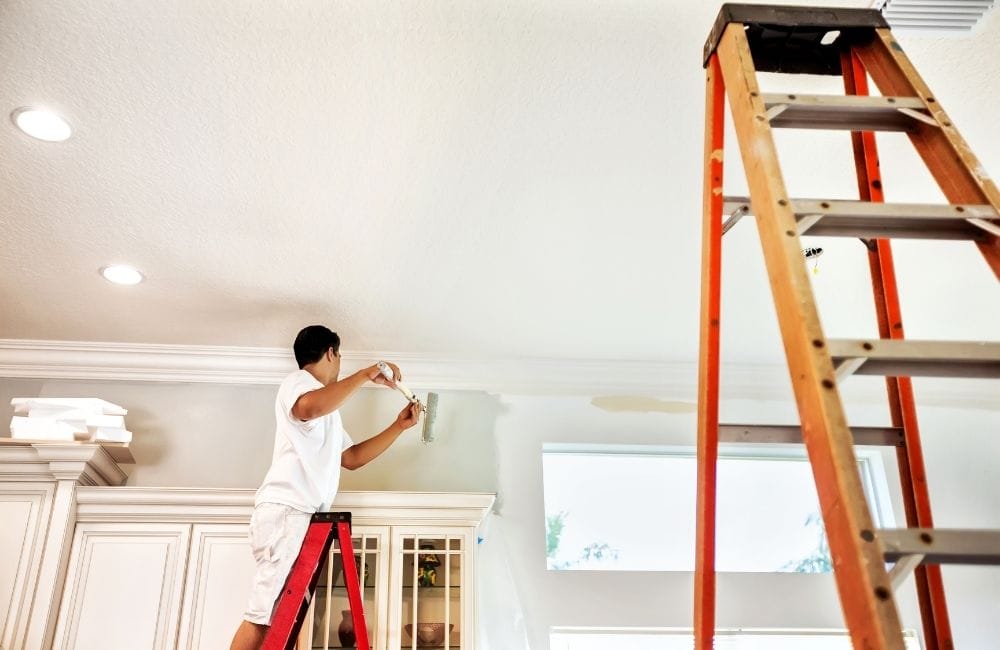
Proper rolling technique is critical to achieving a smooth, even finish, making it one of the most fundamental ceiling painting tips to follow. Whether going for a traditional solid tone or complex ceiling paint patterns, following these rolling techniques will lead to cleaner results and fewer touch-ups.
One of the most overlooked yet impactful ceiling painting tips is knowing when a second coat is needed. Even premium paints don’t always provide full coverage with a single pass, especially on ceilings, which have unique lighting and texture challenges. A second coat may add time to the project, but it consistently delivers superior quality, longevity, and visual appeal—especially when working with complex designs or varied surface conditions.
A common concern for homeowners is how often they should paint their ceilings. The answer depends on room conditions, material quality, and personal style. Many consider updating their ceilings when moving to Los Angeles from New York, as even small improvements can make a home feel fresher. Keeping a regular repainting schedule helps preserve your ceiling’s appearance and overall home upkeep.
Knowing how often should you paint your ceilings also ensures that your home continues to feel bright, clean, and well cared for. Staying ahead of discoloration and surface wear maintains both function and aesthetic harmony.
While DIY ceiling painting offers satisfaction and savings, certain projects are best left to experienced professionals. Knowing when to outsource is one of the most practical and overlooked ceiling painting tips. Hiring a professional helps achieve ceiling results that enhance your home’s appeal, preserve design integrity, and hold up under daily living.
Start by thoroughly cleaning, repairing, and priming the surface to ensure smooth paint adhesion. Use flat, high-hide ceiling paint and apply it with a splatter-resistant roller. Maintain a wet edge and roll in one consistent direction for even coverage.
The best pattern depends on the room’s purpose and style—geometric shapes, stripes, or borders are popular choices. Keep patterns symmetrical and aligned using chalk lines or stencils. For subtle impact, use tone-on-tone colors that complement the room’s palette.
Use a high-quality roller with the correct nap and apply consistent pressure throughout the job. Roll perpendicular to the light source and overlap slightly into each wet section. Avoid going back over areas that have already started to dry.
Let the paint dry completely, then sand lightly to smooth out any raised or uneven spots. Touch up with a small brush using the same paint in thin, even layers. For larger mistakes, repaint the entire section for uniformity.
Patchiness often occurs from uneven paint application, missed spots, or inadequate surface prep. Applying only one coat or allowing the roller to dry out can also lead to streaks. A second coat usually resolves this by creating full, even coverage.

Ready to transform your ceiling with a flawless finish? Let the experts at Fairfield Painting Contractors bring precision, efficiency, and long-lasting quality to your project. Serving Fairfield, CT, our team specializes in ceiling painting, interior upgrades, and custom finishes that elevate your home.
From repairing old ceiling textures to applying fresh color and stylish ceiling paint patterns, Fairfield Painting Contractors has the tools, expertise, and attention to detail you need. We offer free estimates, use premium paints, and back our work with satisfaction guarantees—all right here in Fairfield, CT.