
Learning how to remove peel and stick wallpaper is essential for any homeowner planning a wall refresh. Peel and stick wallpaper is designed to come off cleanly, but the reality is that removal can get messy fast if you rush it. Knowing the right technique, tools, and timing makes the difference between a smooth wall ready for fresh paint and one that needs patching for hours.
Table of Contents
- Why Removal Goes Wrong
- Tools You’ll Need Before You Start
- Step-by-Step Wallpaper Removal Process
- Dealing With Adhesive Residue
- Wall Prep After Wallpaper Removal
- Things to Know
Key Takeaways
- Always start at a corner or seam and pull at a slow, low angle to avoid tearing paint off the wall.
- Heat from a hair dryer softens adhesive and makes removal significantly easier on older applications.
- Adhesive residue left behind requires a dedicated cleaner before repainting or re-wallpapering.
- Wall surface type matters: drywall with flat paint is the most vulnerable to damage during removal.
- If your walls show damage after removal, patching and priming before any new finish coat is non-negotiable.
- Professional help is worth considering if the paper has been on more than a few years or covers a large area.
The peel and stick wallpaper market was valued at $3.8 billion in 2025 and is projected to reach $7.2 billion by 2034 (Dataintelo, 2025). Additionally, the peel-and-stick segment commands roughly 60% of the removable wallpaper market and accounts for approximately 300 million square meters installed in 2024 (Global Insight Services, 2024). With this growth, a lot of walls across the country are going to need that paper taken back off at some point.
Why Removal Goes Wrong
Most removal problems trace back to two factors: time and surface type. The longer peel and stick wallpaper sits on a wall, the more aggressively its adhesive bonds. Heat, humidity, and repeated temperature cycles all accelerate this process. According to My Equipped Home (2024), paint damage and adhesive residue are widely reported pain points. However, no universal data reliably predicts risk for specific wall surfaces, so your particular walls may behave differently.
Flat paint finishes are especially prone to surface tearing. Fresh drywall and walls that were not properly primed before the paper went up also present challenges. In contrast, semi-gloss and satin finishes tend to release much more cleanly because they create a denser surface for the adhesive to grip.
Survey data from 2025 indicates that approximately 62% of households that undertook a DIY interior project in the past year considered or used some form of removable wall covering (Dataintelo, 2025). That represents a lot of future removal jobs. Therefore, understanding what can go wrong before you start is the fastest way to avoid it.
Tools You’ll Need Before You Start
Gather everything before you touch the wall. Stopping mid-job to hunt for supplies is how walls get damaged. Moreover, having all materials ready streamlines your work and prevents frustration.
- Plastic putty knife or plastic scraper (avoid metal on painted drywall)
- Hair dryer or heat gun set to low
- Spray bottle filled with warm water
- Adhesive remover (Goo Gone or a similar product)
- Clean microfiber cloths
- Painter’s tape to protect trim and outlets
- Mild dish soap and water for final wall cleaning
Skip the metal scrapers unless you are working on tile or a similarly hard surface. On standard drywall, they gouge the paper facing and create a repair job you did not plan for.
Step-by-Step Wallpaper Removal Process
Knowing how to remove peel and stick wallpaper correctly starts with patience, not products. For example, rushing through any single step can compromise your entire project.
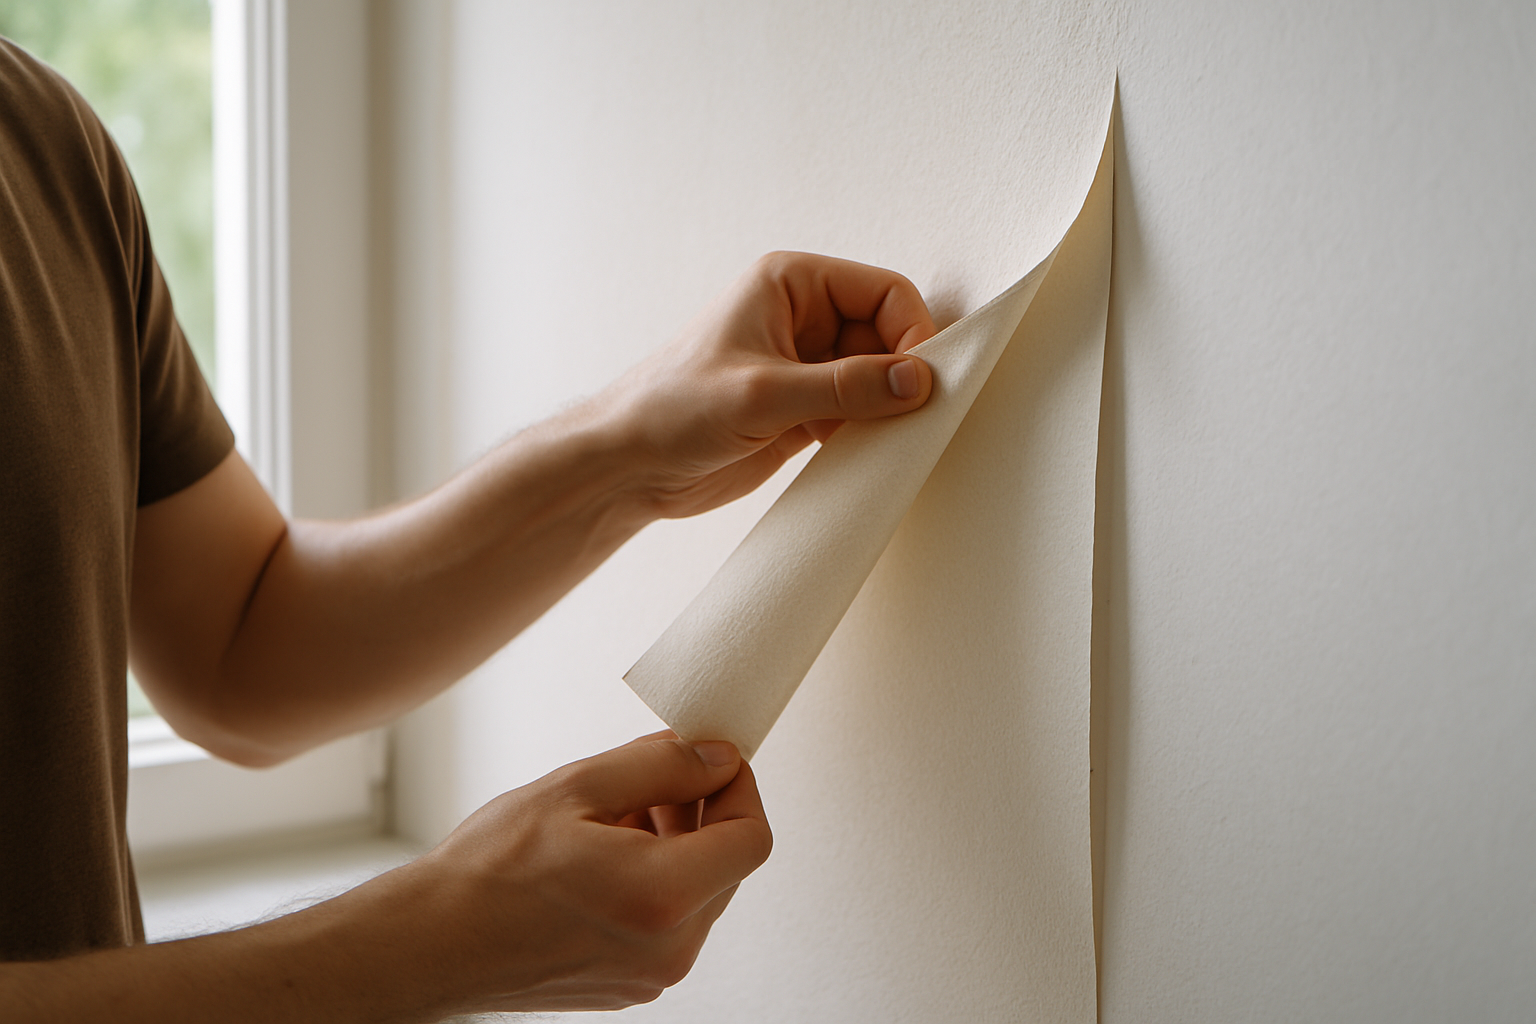
Step 1: Find a seam or corner. Use your fingernail or a plastic scraper to lift a corner of the paper. Never force it if it does not budge right away.
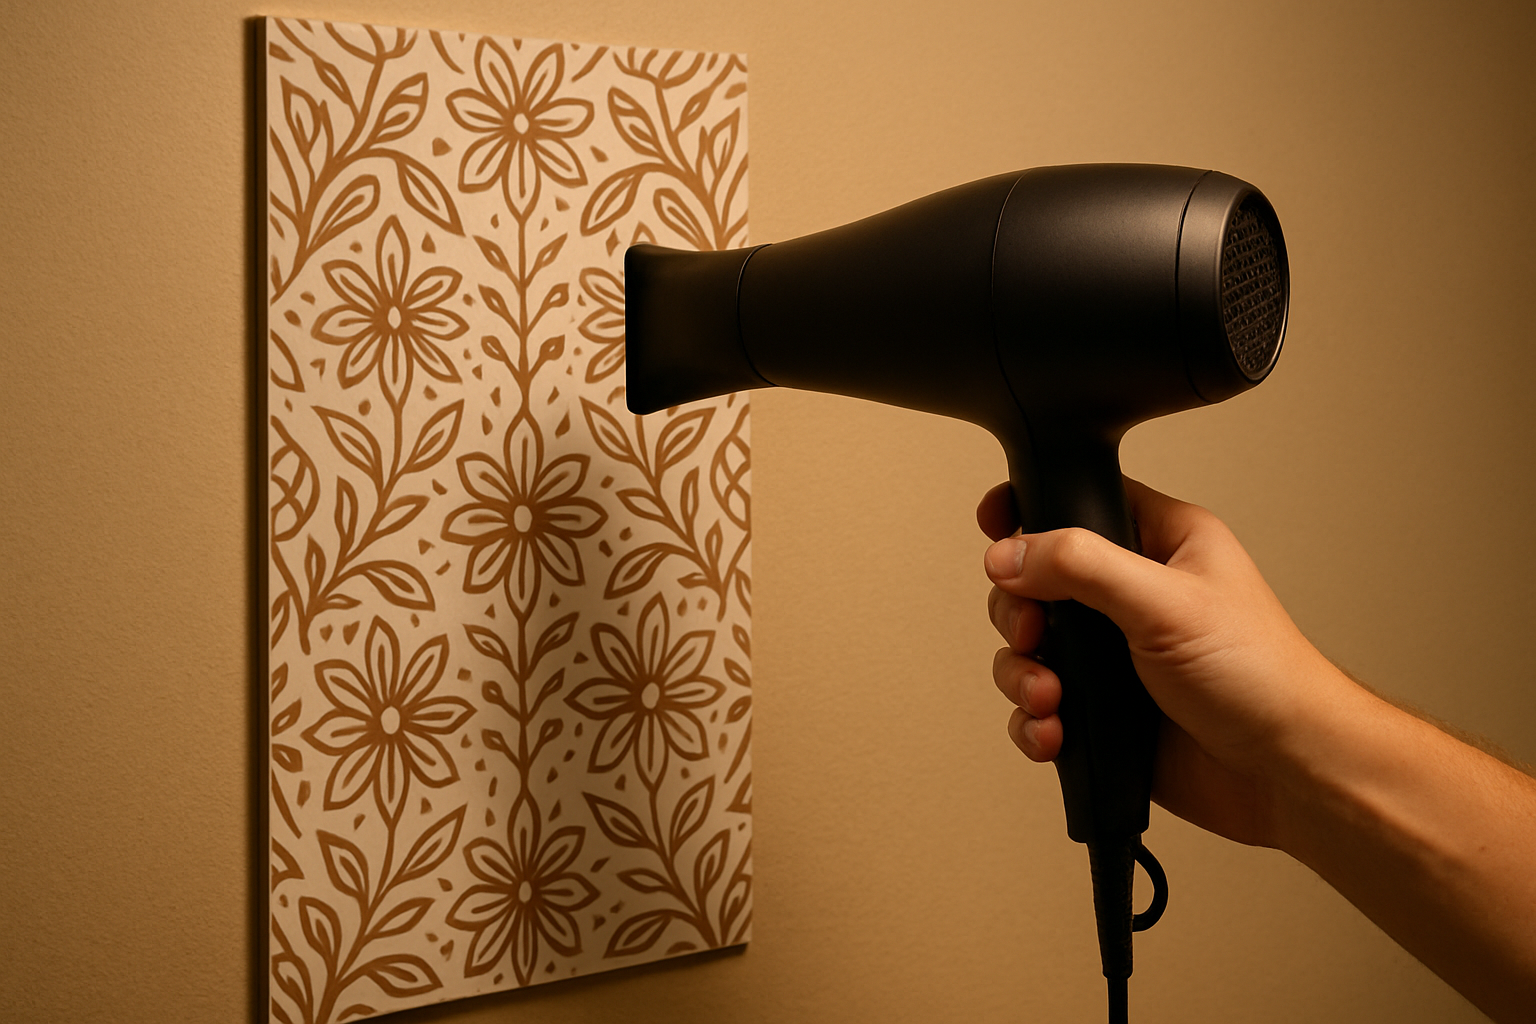
Step 2: Apply heat. Hold a hair dryer six to eight inches from the surface and warm the paper for 20 to 30 seconds. The adhesive softens significantly with heat. As a result, you need less force to pull.
Step 3: Pull at a low angle. Once the corner is lifted, pull the wallpaper back on itself at roughly a 15 to 30 degree angle from the wall surface. Pulling straight out or upward increases the risk of tearing off the paint underneath. Go slowly, about an inch at a time on stubborn sections.
Step 4: Reapply heat as needed. On large panels or older installations, continuously warm the section just ahead of where you are peeling. Do not let the paper cool down mid-pull.
Step 5: Work in sections. Rather than trying to pull an entire sheet at once, work in 12 to 18-inch strips. This gives you more control and prevents the paper from snapping and sticking to itself.
Dealing With Adhesive Residue
After the paper comes off, you will likely find patches of sticky residue on the wall. Do not paint over this. Residue under fresh paint causes peeling and an uneven finish.
Spray the affected area lightly with warm water and let it sit for two to three minutes to soften the glue. Then wipe with a microfiber cloth. For more stubborn spots, apply an adhesive remover like Goo Gone. Let it dwell for five minutes and wipe clean. Always follow up with a mild soap-and-water wash to remove any oily residue from the cleaner itself. Oil-based removers can interfere with primer adhesion.
If you are planning to repaint after removal, this step directly affects your final result. Thinking about interior paint color trends 2026 for your refreshed space? Make sure the wall surface is completely clean and dry before you open a single can.
Wall Prep After Wallpaper Removal
Once the residue is gone, inspect every inch of the wall under good light. Look for:
- Torn drywall facing (fuzzy or paper-like texture)
- Gouges or dents from scraping
- Paint that pulled away with the wallpaper
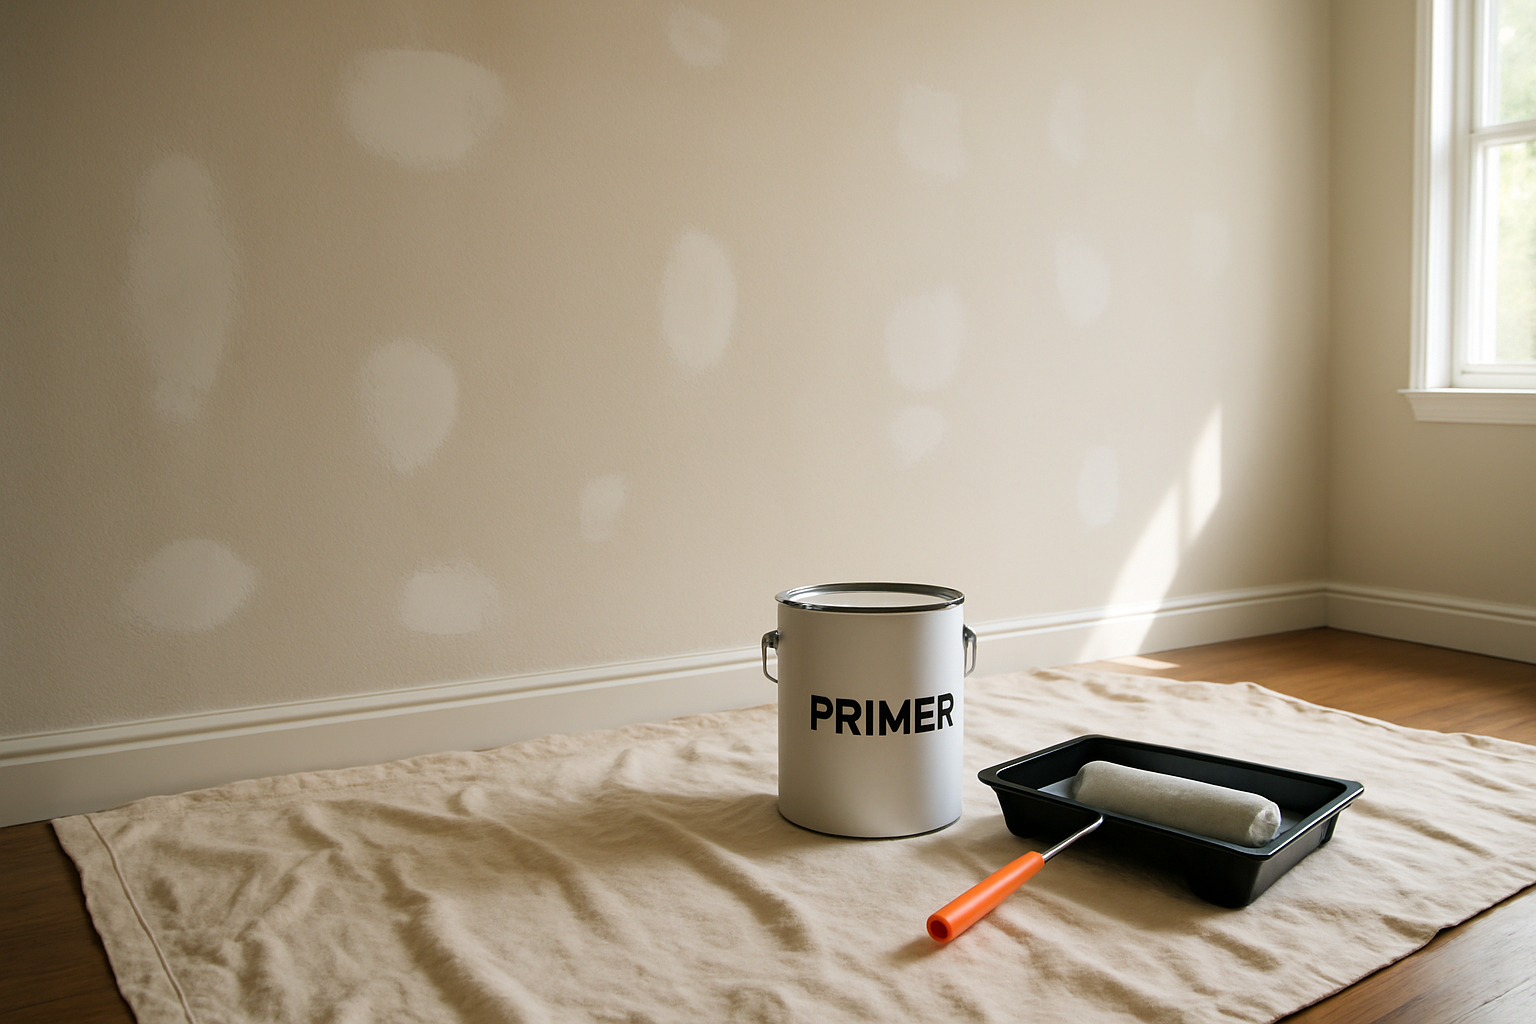
Minor tears in drywall facing require skimming with lightweight joint compound and sanding smooth once dry. For larger damage, you may need a second coat. Prime the repaired areas with a shellac-based or PVA primer before applying finish paint. Skipping primer on fresh compound almost always results in dull, uneven patches in your topcoat.
This is also a good moment to evaluate your broader wall and room refresh plan. Homeowners who are updating kitchens alongside wallpaper removal often find it worth reviewing kitchen cabinet painting cost at the same time to budget the full project. Furthermore, if you have older ceilings in the same space, it is smart to look into popcorn ceiling asbestos testing before any sanding or disturbance work begins.
Things to Know
- Peel and stick wallpaper installed in high-humidity rooms like bathrooms or kitchens tends to bond more aggressively over time. Therefore, removal becomes harder.
- Some brands use stronger adhesives than others. Budget options often leave more residue than premium brands.
- Never use sharp metal tools on drywall. Even a small gouge creates a visible repair patch under flat paint.
- If you are prepping walls for resale, color choices after removal matter as much as surface quality. Check out paint colors for home resale value to make informed decisions before picking your next shade.
- Wallpaper applied to walls with existing wallpaper underneath is a completely different removal job. In most cases, professional intervention is necessary.
Let Fairfield Painting Contractors Handle the Hard Part
If your wallpaper removal has already caused wall damage, or the paper has been up for years and is fighting back, our team at Fairfield Painting Contractors can request a free estimate before the problem gets bigger. We are a licensed, insured, full-time crew serving Fairfield, CT and the surrounding coastline. Wallpaper removal is one of our core residential services. Contact us today to get an honest assessment and a clear price before any work begins.
Frequently Asked Questions
Q: Can peel and stick wallpaper damage painted walls when removed?
Yes, it can, especially on walls with flat paint or unprimed drywall.
The risk increases the longer the paper has been installed. Heat and slow, low-angle peeling reduce the chance of pulling paint off with the paper.
Q: Does warm water help with how to remove peel and stick wallpaper?
Warm water can soften adhesive residue after the paper is off, but it is less effective than heat during actual removal.
Use a hair dryer for the peeling step. Then switch to warm water or an adhesive remover for the residue cleanup phase.
Q: How long does it take to remove peel and stick wallpaper from one room?
A standard bedroom typically takes two to four hours, including residue cleanup.
Larger rooms, heavily textured walls, or older installations can extend that estimate considerably. Factor in wall repair and drying time before repainting.
Q: Is it safe to use Goo Gone on painted drywall?
Yes, but follow up immediately with a soap-and-water wash to prevent adhesion problems when priming.
Goo Gone is oil-based, and any leftover residue from the cleaner itself can prevent primer and paint from bonding properly to the wall.
Q: When should I hire a professional instead of removing it myself?
Hire a professional when the paper spans large areas, has been installed for several years, or when your walls have already shown damage during an attempted DIY removal.
Professional wallpaper removal teams have the tools and experience to minimize surface damage. This saves time and money on wall repairs before repainting.
The Bottom Line on How to Remove Peel and Stick Wallpaper
How to remove peel and stick wallpaper cleanly comes down to three essential things: the right tools, steady patience, and proper wall prep after the paper is off. Rush any of these stages and you will spend more time repairing walls than you saved by skipping steps.
If you are in Fairfield County and the job has gotten bigger than expected, reach out to Fairfield Painting Contractors. Our crew handles wallpaper removal as part of a full interior refresh. You get one team from start to finish.